Incorrect connector installation can disable an active device, such as a mobile signal repeater. We will show and tell you how to properly install an N-Male connector on an RG-8 cable and avoid costly mistakes.
Watch the video tutorial:
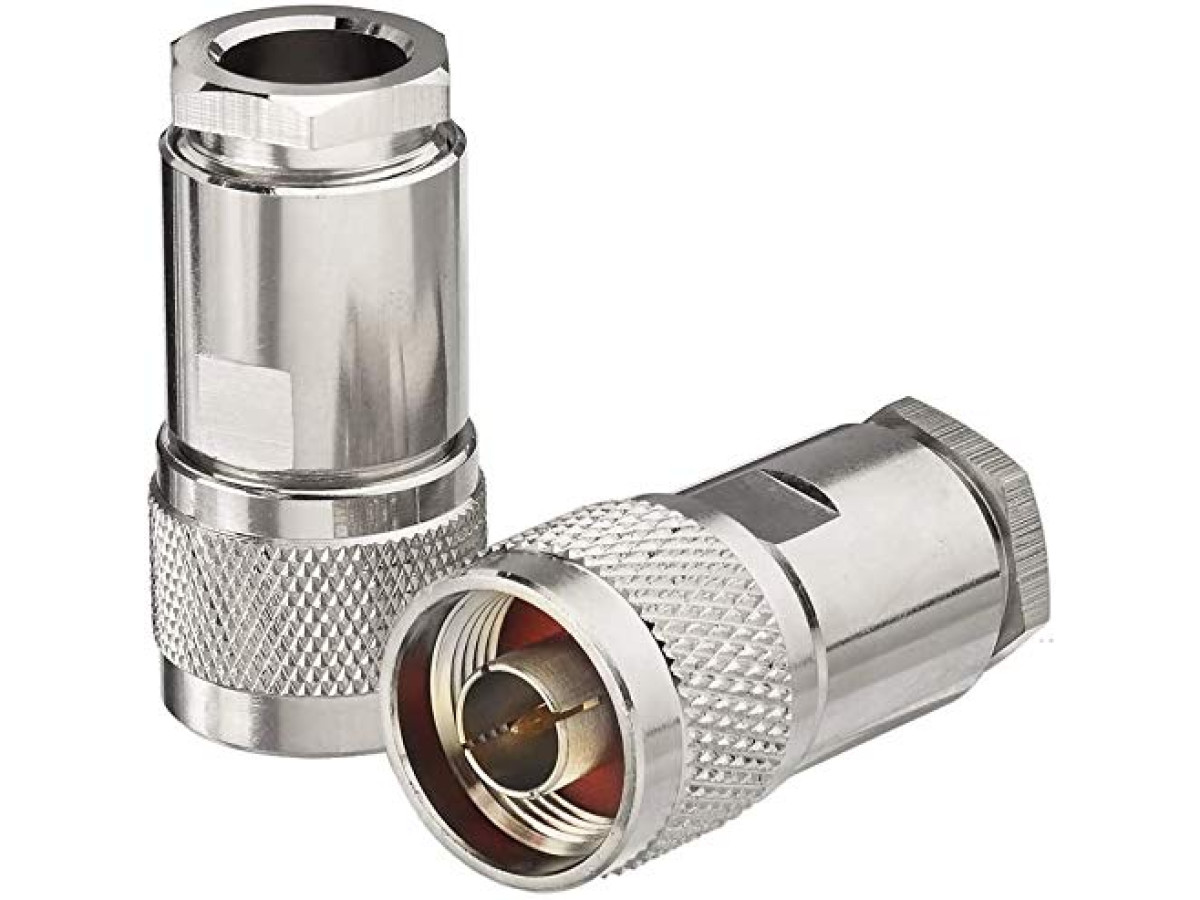
Video: How to install an N-type Male connector on an RG-8 cable
Step-by-Step Guide to Installing an N-Male Connector on RG-8 Cable
Step 1: Cable Preparation
Take an RG-8 cable. Measure approximately 1 cm from the end and carefully strip off the outer insulation. Then, sequentially slide onto the cable: the connector nut, a sealing washer, a rubber seal, and then the conical-edged ring. Pull the cable braid over the conical-edged ring. Ensure that the length of the braid does not exceed the dimensions of the ring.
Step 2: Preparing and Soldering the Center Conductor
Strip the insulation from the center conductor so that it is exposed for approximately 3-4 mm. Be careful: the distance between the braid and the exposed center conductor should be about 1-1.5 mm. Apply a small layer of flux to the center conductor, slide the central pin from the connector onto it, and heat it with a soldering iron to the melting temperature of the solder. With correct soldering, a small amount of solder should protrude from the central pin. After soldering, carefully remove any excess solder with a knife.
Step 3: Connector Assembly and Final Check
Insert the central pin and the braid with the ring into the connector body and firmly tighten the sealing nut. After installing the N-Male connector, ALWAYS check for a short circuit between the center conductor and the braid using a multimeter.
If a short circuit is detected, immediately disassemble the connector and eliminate its cause. A short circuit can damage connected equipment!